| Fitting our
Jaguar XK8/XKR body kit is easy with no modifications needed to
the car's body work. Here we'll show you how it's done with some useful tips. REAR BUMPER REMOVING THE OLD ONE Looking up from under the bumper where the exhausts come out you will see the 19mm bolts that hold the bumper on. These are invariably rusty and more than likely seized. 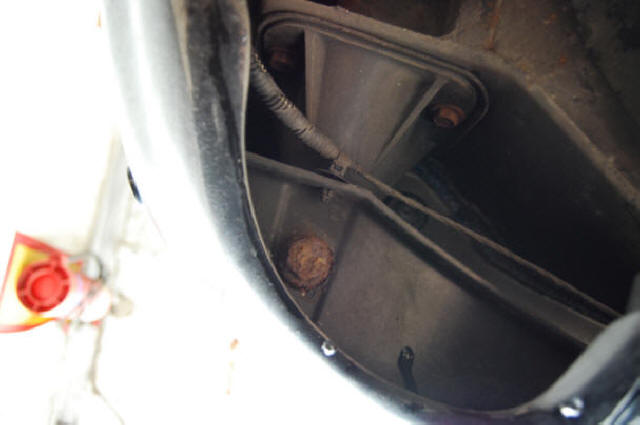 TIP. If you are to have any chance of removing these, tighten them first (clockwise) until you hear a crack and stop. Now try to undo them. If they just start to spin, there is no option but to do some cutting.. 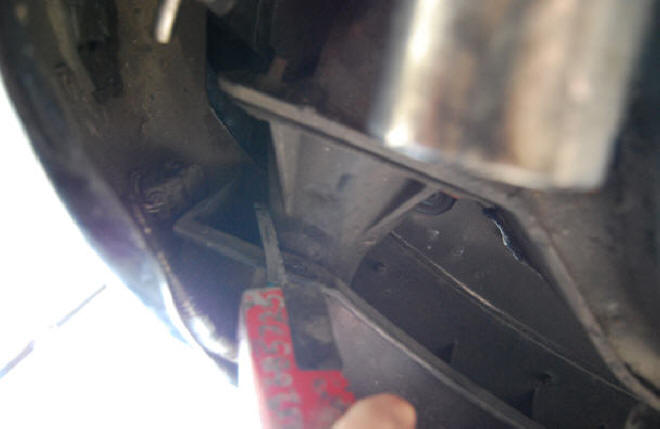 We have found it easiest to use an air saw to cut the rear bumper mount. The mount will not be needed to fit our bumper. 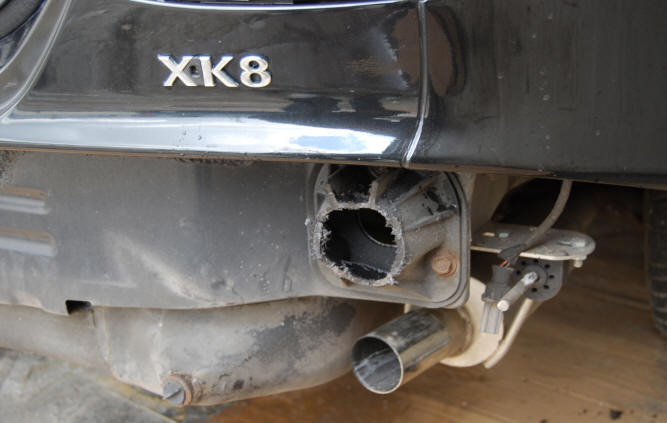 You can get access to the Jaguar mount by removing the exhaust tail pipes. With the mount bolts removed or the mounts cut, the bumper will slide back and off. On early Jaguar XKs the rear tow eye can be cut off. Here we made a small hole in the diffuser to give access to the tow eye thread. FITTING THE NEW ONE 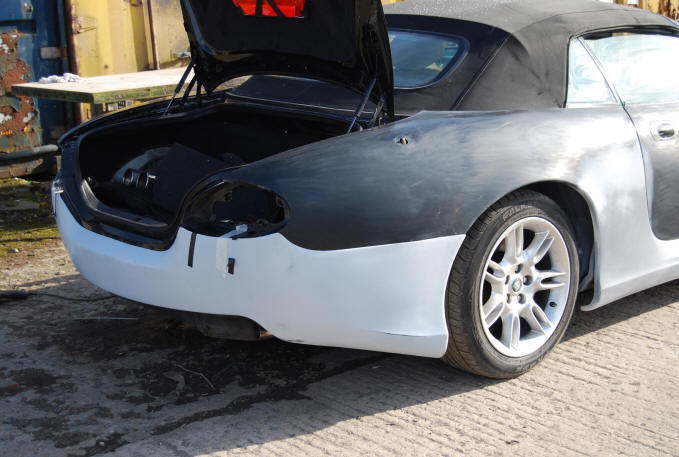 Now our bumper can be put into place. We favour putting a selftapper into the wheel arch. With the the back taped into place the sides can now be stretched into place until they are horizontal. The bumper is a tight fit and this pulls the sides in. Here it is suspended with no more than the tape and 2 screws in the arches. TIP. We have got a good clean fit by running double sided tape along the very edge of the bumper and a thin line of PU adhesive under that. Position the bumper and then peal off the double sided tape backing and press into place. 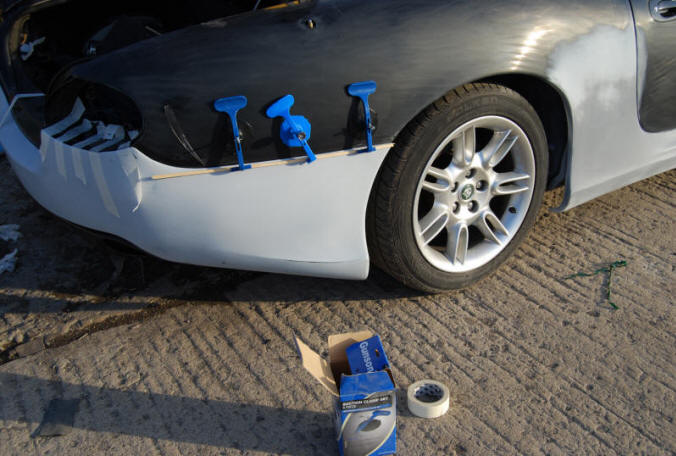 These suction clamps are ideal, the Gunson ones are the best and can be bought quite cheaply on Ebay. Use them to hold the bumper while the adhesive goes off. TIP. Use a bit of straight wood or similar at the very edge of the bumper to avoid leaving any clamp marks. 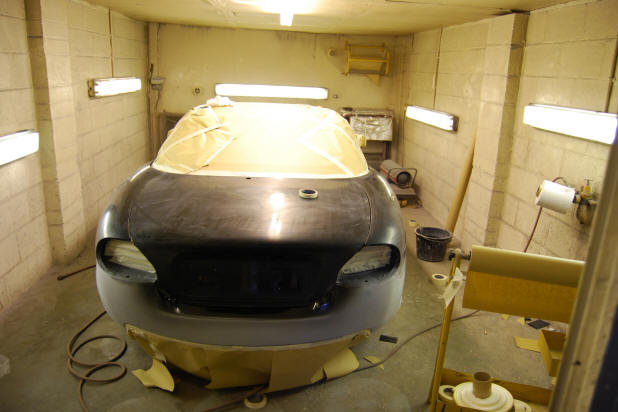 The rear diffuser must be bolted to the rear bumper before fitting, so if you are going to paint it on the car it will need to be masked off. FRONT BUMPER Our front bumper fits just like the Jaguar original, bolting in exactly the same places. It was modelled on an early Jaguar XK8 and on later models the front mounts below the bonnet were raised.. but not all of them... On this later model we cut out some of the mounting area on our bumper and left the sides and very middle position. Our bumper is rigid enough to support it's self on these 3 remaining mounts.  SIDE SKIRTS 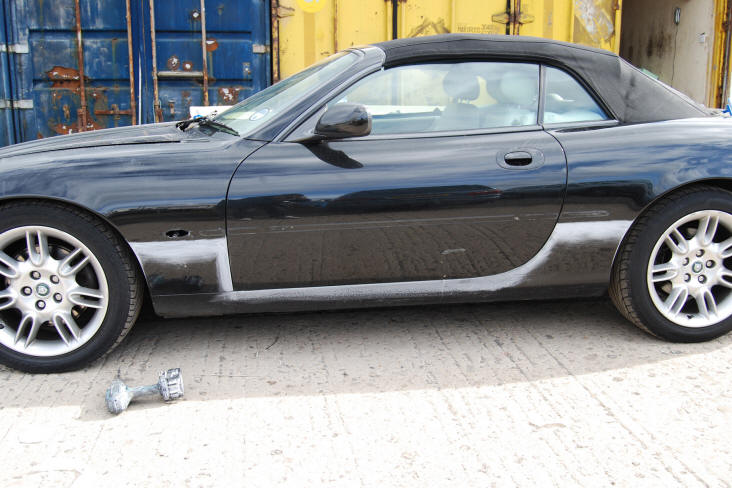 Our Jaguar XK side skirts can be simply bonded to the sides of the car as seen on our silver/blue XK8 or for a very smooth look they can be blended into the wings. The area where the side skirts will fit needs to be degreased and roughed with some course sand paper. 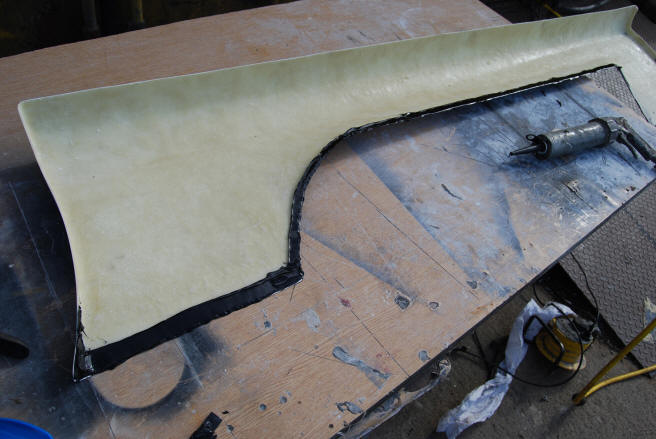 TIP. Note how we have applied one line of adhesive. If you make swirls that trap air, this air will expand when hot and deform the side skirts. 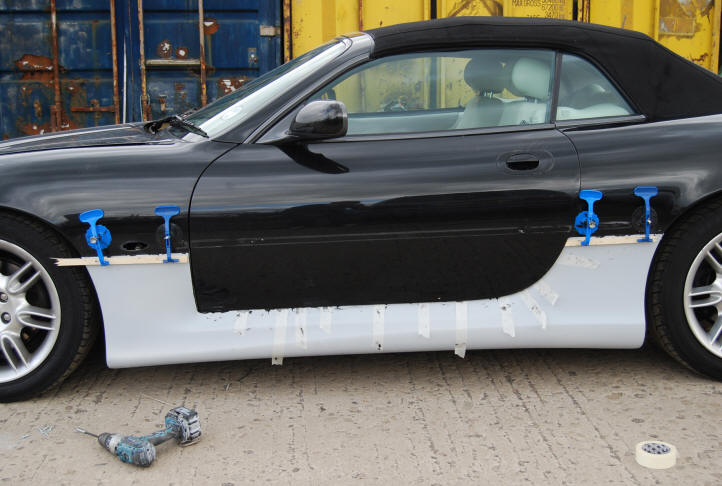 Tape, suction clamps and strips of wood hold the side skirts whilst the adhesive sets. 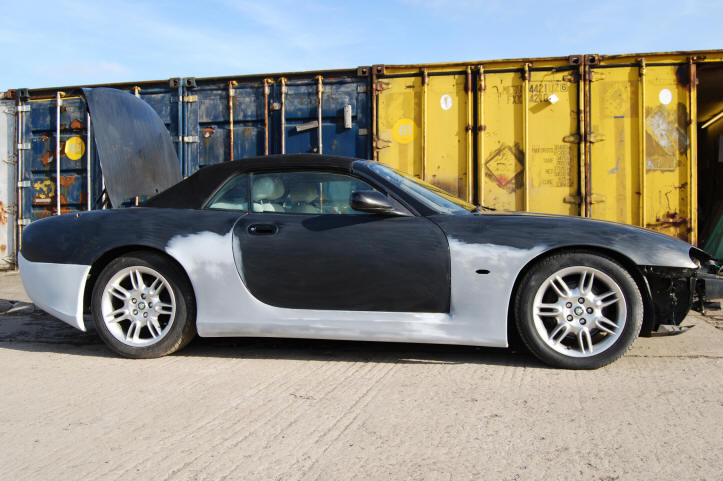 Note how the blending goes well above the tops of the side skirts. The result is a seamless join between wings and side skirts. HEADLIGHTS. 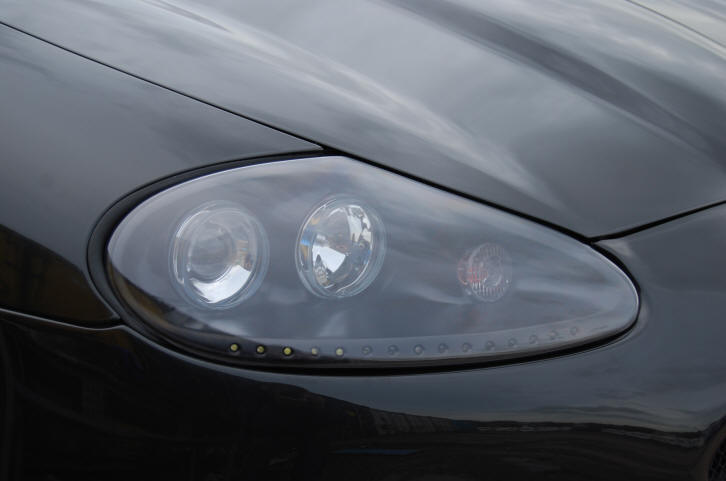 PDF headlight fitting instructions CLICK HERE Our Jaguar projector headlights could not be simpler to fit, they bolt into place using the original bolts and simply plug into the original wiring loom. TIP. The self adhesive rubber seal provided is best stuck to the wing, not the light for a very neat finish..  |
HOME